Clean A Dog Carrier With These 7 EASY Steps
You want to start by removing all the bedding in the carrier and throwing it in the wash. Then, you move on to washing the outside, rinse the inside, and then use a good antibacterial cleaner. Once everything is dry, you are good to go.

Having a dirty dog carrier can present us with unpleasant smells. A dirty carrier can also be a health hazard to your dog and possibly even us.
So, it is best to try and keep it clean.
Keeping the dog carrier clean does not have to be a daunting task, so, here’s how to clean your dog carrier.
That was just a brief answer. If you want to know more, keep reading because, in this article, we are going to cover our 8 easy steps to clean your dog carrier.
Be sure to bookmark this page to keep as a reference while you clean yours.

Related Reading: How to Measure Your Dog For a Carrier [QUICK GUIDE]
Clean a Dog Carrier 7 Easy Steps
Cleaning a dog carrier is important and if you consider the fact that you use it most often to take a dog to the vet or to social areas, you don’t want to be the person that has a dirty and smelly dog carrier.
So, taking 45 minutes of your day once a week, to clean it out, shouldn’t be that daunting and it really isn’t.
Here are our 7 easy steps to clean your dog carrier:
1. Remove And Wash All the Bedding
This is pretty standard. Just remove all the bedding from the dog carrier and throw it in the washing machine.
One important thing to note is, that to prevent hair from getting on your clothes, you should wash all the bedding separately from your own washing.
You can use any detergent depending on your preferences but one important thing to note again is, to check the filters of the washing machine once you have washed the dogs.
This is because you don’t want your washing machine to get full of hair the next time you wash your clothes. This can damage your washing machine.
2. Clean The Outside Of The Carrier
Now that you have removed all the bedding and blankets, you can get to work on cleaning the outside of the carrier.
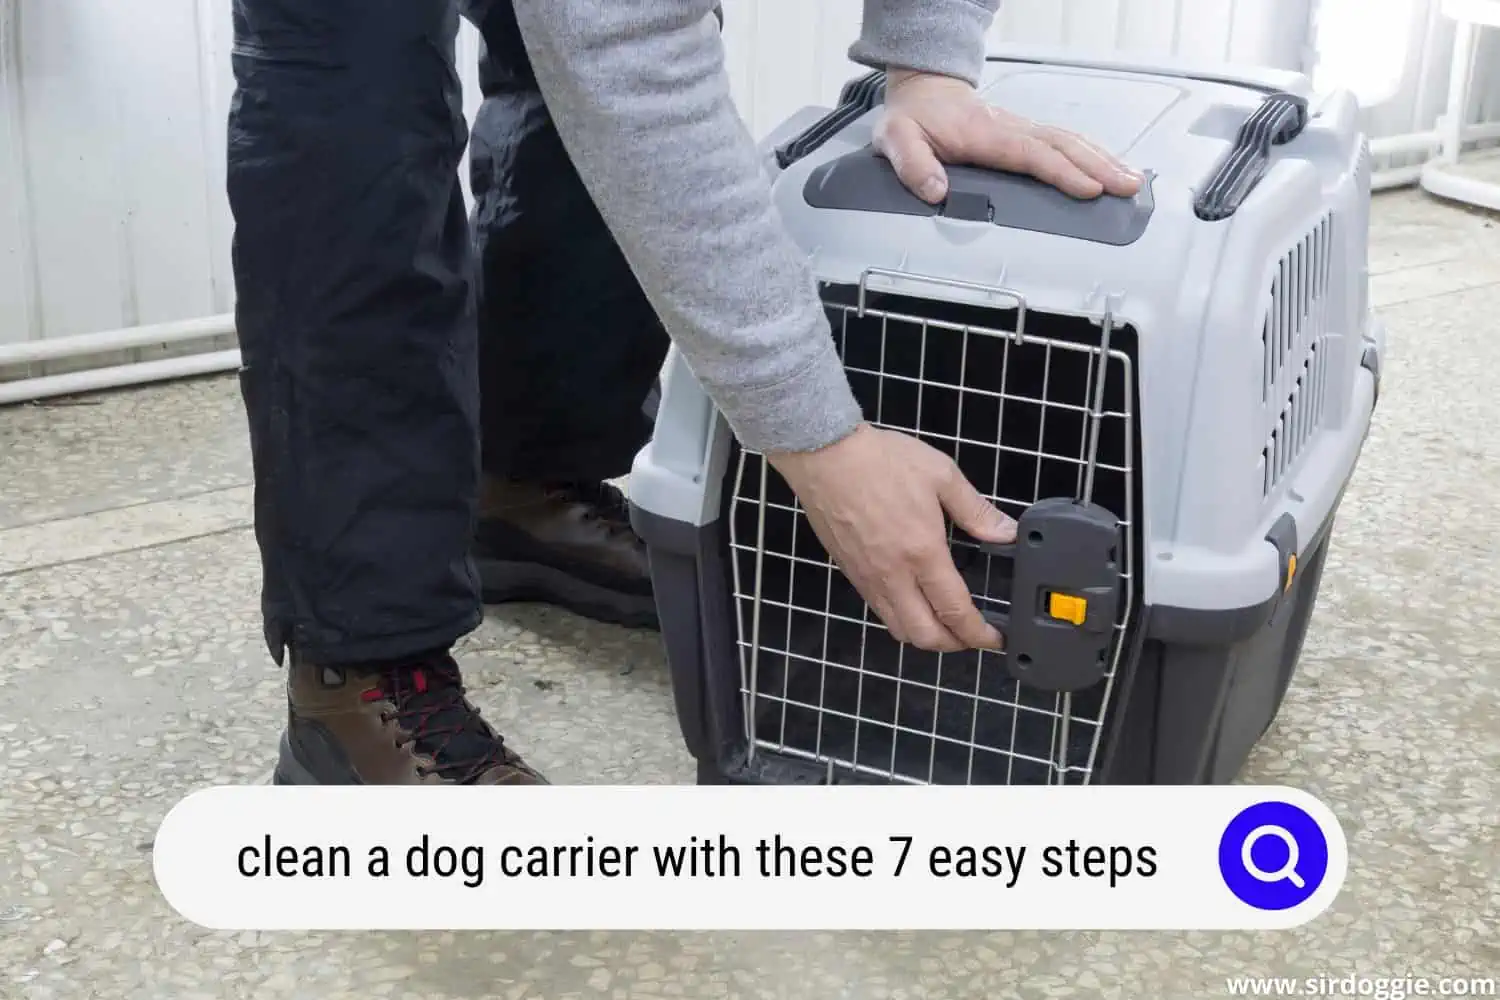
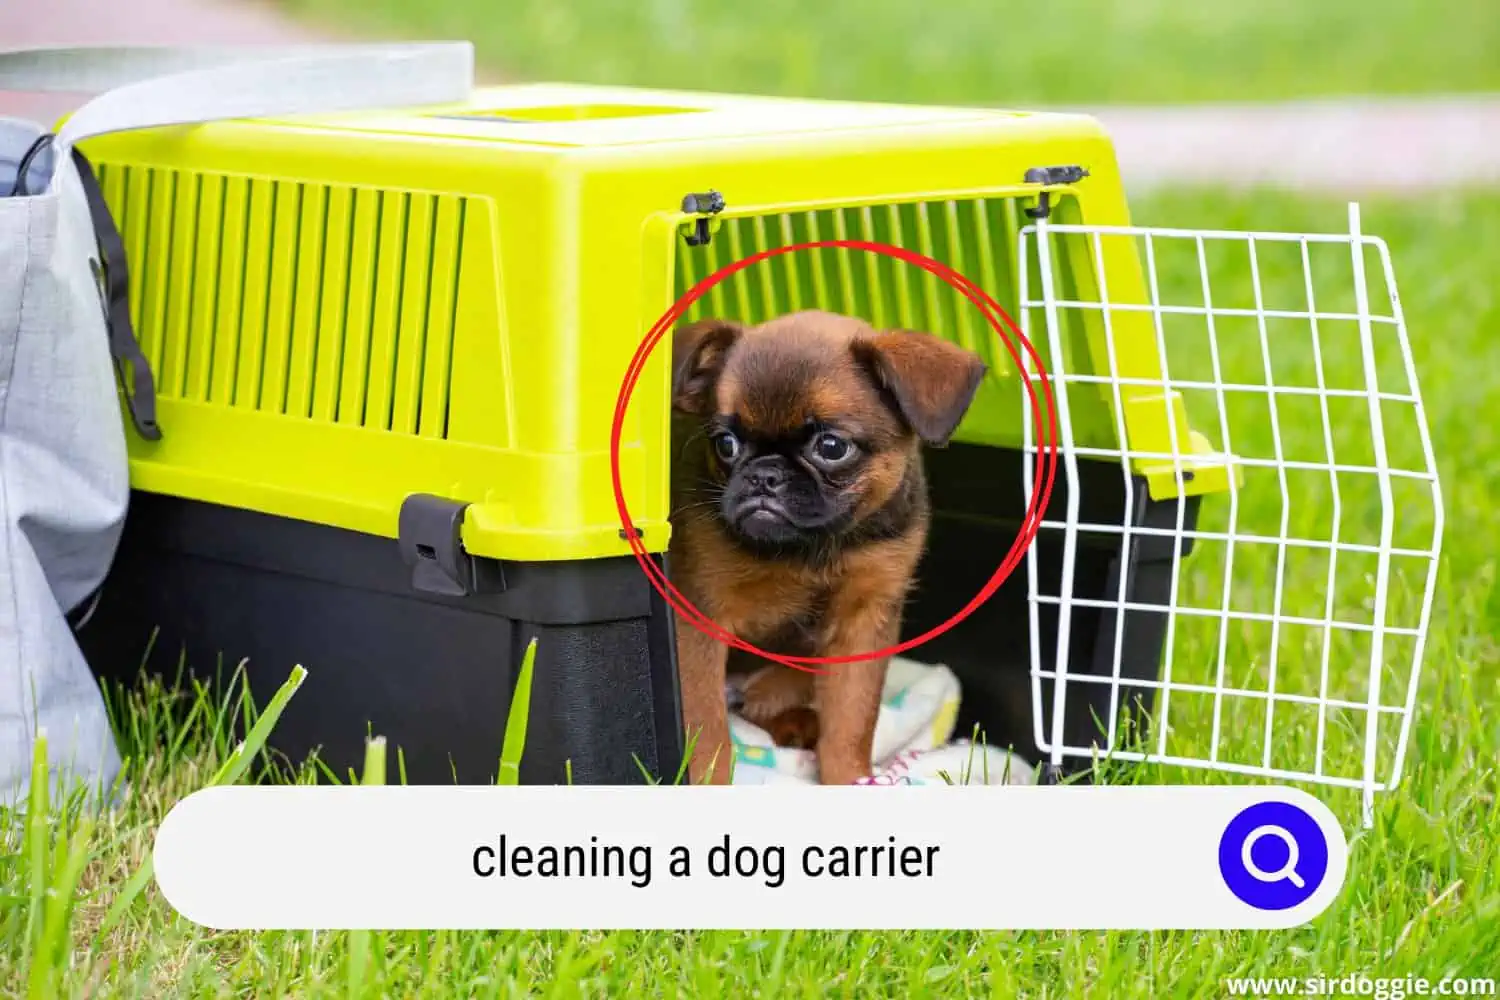
It is important to remember that there are three main types of carriers. You have one for bigger dogs which is a big metal cage. There is your average normal one that is small and made from plastic.
Then, you also have newer models that are basically all made up of fabric.
To clean the outside of a bigger dog carrier, the cage, all you have to do is take a wire brush and keep the cage wet while going through it.
I recommend using a wire brush as this gets rid of most of the rust if there’s any that has been building up.
For plastic dog carriers, all you have to do is use a cloth and a cleaning agent of your choice. Then, scrub the outside of the cage thoroughly.
For the newer dog carriers, your life just got a whole lot easier because all you have to do is remove the inner component at the bottom that keeps everything rigid and wash that by hand.
Then you can throw the entire carrier in the washing machine if it can handle it.
Because it is that easy to clean a material-based dog carrier, we won’t be covering those for the rest of this article.
3. Rinse The Inside Of The Carrier With Water
The next step is to rinse the inside of the dog carrier. This is very important to do before you wash it because you want to get rid of any larger pieces of dirt that might be lingering around in there.
Use a hose to do this as that is the easiest method and trust me, it is much easier than using a bucket.
The biggest benefit of rinsing the dog carrier first is that you won’t make your clothes or your brush dirty when you are cleaning the inside of the carrier.
4. Clean The Inside Of The Carrier
Once you have rinsed the carrier, it is time to start cleaning it. For this, you can use an antibacterial cleaning agent and again, choose one that smells nice not only for you but maybe for your dog as well.
When you are scrubbing the inside of the dog carrier, you don’t have to worry so much about stains, especially plastic ones.
The most important thing is just to get any sticky mess out of the carrier.
5. Rinse One More Time
Once you have scrubbed the dog carrier with your cleaning agent, it is going to be rather soapy inside. We don’t want our dogs to get any kind of poisoning from these cleaning agents.
So, we need to rinse the dog bed one more time.
Again, the easiest method for this is just to put the bed on the lawn and then use a hose to rinse it.
6. Let It Dry
Before you put everything back inside the dog carrier, you want to make sure that it is properly dry first. That is because some dogs can have very bad reactions to sleeping on wet bedding.
If the bedding for your dog gets wet it can have negative effects on their skin. So, I recommend letting it dry in the open for a least 10 to 20 minutes.
If you can wipe it down with a towel first to get rid of any excess water, that will be great and it will speed up the drying process.
7. Put Everything Back Together
Now it is time to put everything back together. See, because I love dogs so much I am going to say that you should try and make it as comfortable and as nice for your dog as possible.

Conclusion
That brings us to the end of this article and as I mentioned right in the beginning, cleaning your dog carrier does not have to be that daunting.
If you plan it out, it can actually go rather quickly and the benefits of having a clean dog carrier are that you won’t be that person that carries around a smelly carrier to the vet or social areas.

Family Dog Expert Author
Hi there! I’m Stuart, a devoted dog lover and family dog expert with over a decade of experience working with our furry companions. My passion for dogs drives me to share my knowledge and expertise, helping families build strong, loving bonds with their four-legged friends. When I’m not writing for SirDoggie, you’ll find me hiking, playing with my beautiful dog, or studying music.